Summer Craft Idea
/It’s summertime and it is HOT HOT HOT. In some cases, it’s just a little too hot to be spending all day outside. This means it’s up to us parents to entertain. The good news is, indoor craft activities can be fun for you too! Fireflies & Mudpies is a great source for craft ideas and one that caught our eye are these DIY suncatchers.
This craft can be completed in five easy steps and the finished product will look beautiful hanging in one of your windows.
Here’s what you’ll need:
- Cardstock
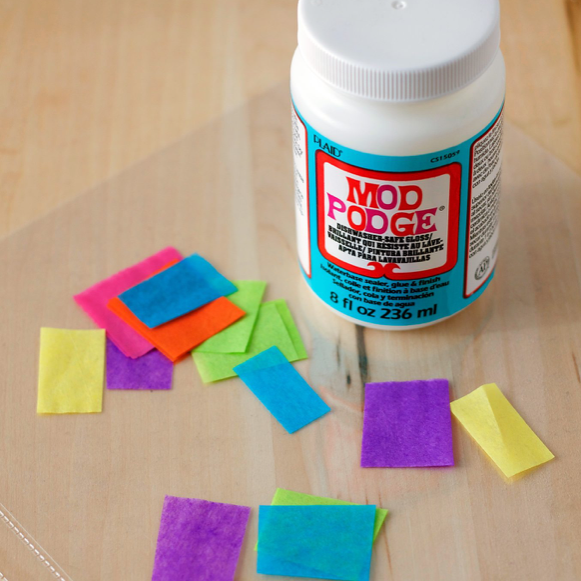
- Multiple colors of tissue paper cute into 1” x 1” square (if you’re feeling crazy cut the tissue paper into other shapes too)
- Scissors
- Foam paint brushes
- Clear sheet protectors
- Mod podge
- A pen
Once you have all of your supplies, it’s time to start the fun. Start by having your toddler cut the tissue paper up and start discussing what shape you’ll want your suncatcher to be. Once you have a pile of tissue paper, work on your cardstock cut out. There are all sorts of shape templates online but this is the time to be creative. It doesn’t have to be perfect!
Next, use your foam brush and add a thick layer of Mod Podge over the sheet of plastic. Start pressing the tissues paper pieces into the Mod Podge and use the brush to decoupage the paper directly onto the plastic. This is just fancy terminology for creating a layer under and on top of the tissue paper.
When the glue is dry, gently bend the plastic sheet back and peel the tissue paper away. Take your cardstock and trace the shape onto the tissue paper, using the cardstock as a stencil. Use your scissors to cut the shape out.
Finally, use double-sided tape or a string to hang your suncatcher in the window of your choice.
PRO TIP! It might not be a bad idea to keep wipes close by since this craft could get a tad bit sticky!


